
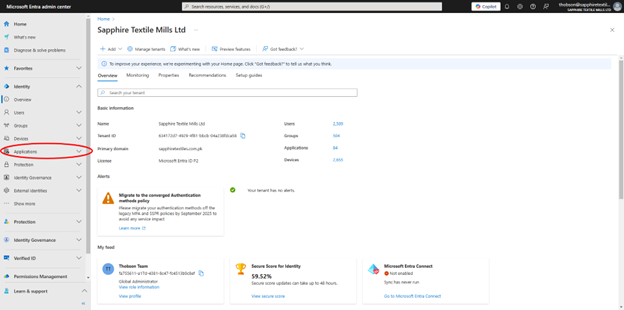
1. Navigate to the App Registrations page
2. Select New Registration
3. Enter an application name in the name field.
4. For Supported account types select Accounts in any organizational directory (Any Azure AD directory – Multitenant)
5. For “Redirect URI” select web and then enter your redirect URI.
Change mail.company.test to the FQDN of the MDaemon server
https://mail.company.test/WorldClient.dll?View=OAuth&AuthRequest=Office365
6. Select Register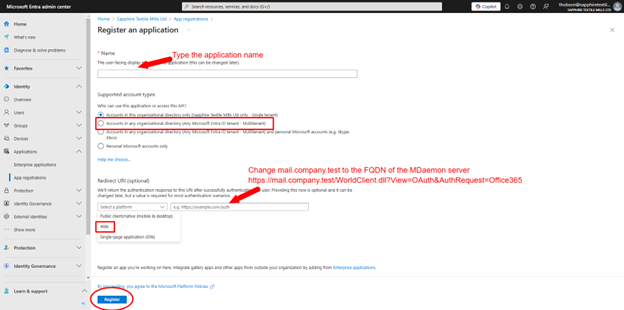
7. Make note of the Application (client) ID
8. Select API Permissions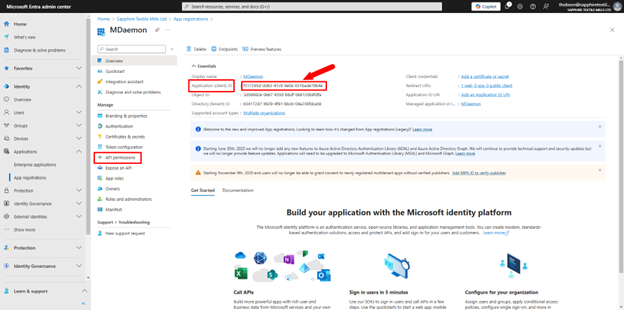
9. Select + Add a permission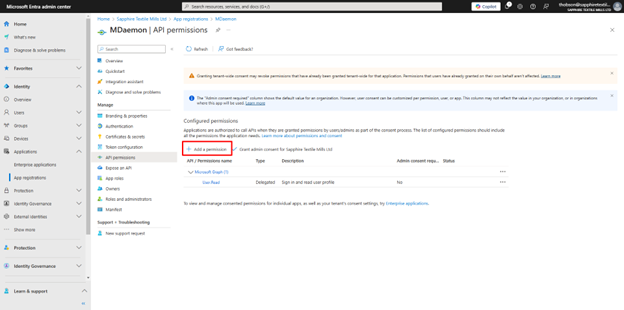
10. Select Microsoft Graph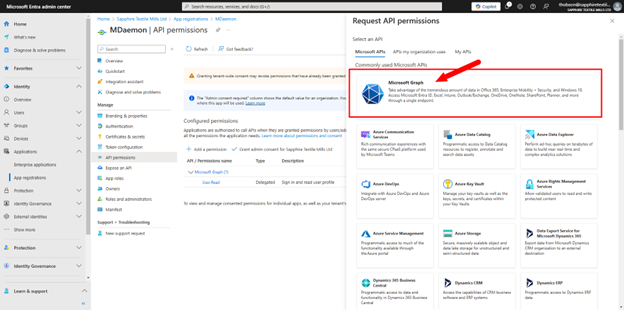
11. Select Delegated Permissions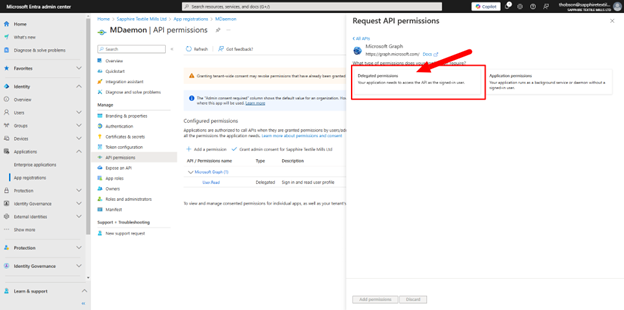
12. Select POP.AccessAsUser.All and User.Read (User.Read is already selected by default)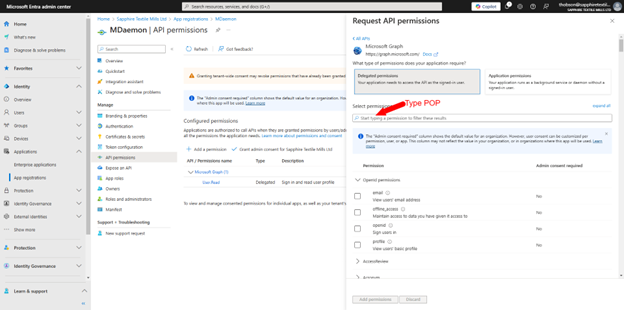


13. Select Add permissions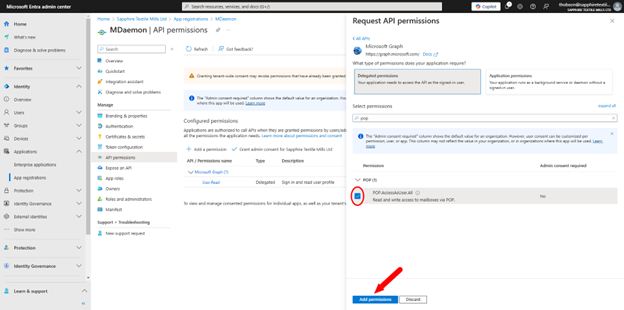
14. Select Certificates & Secrets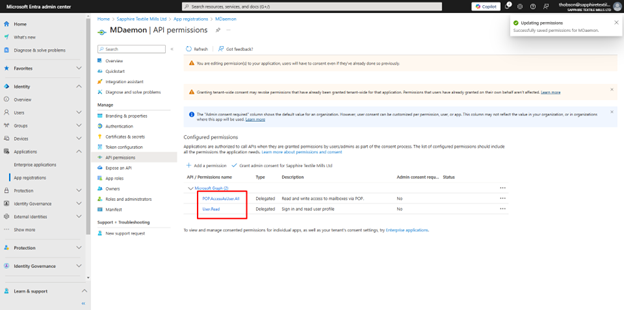
15. Select Certificates & Secrets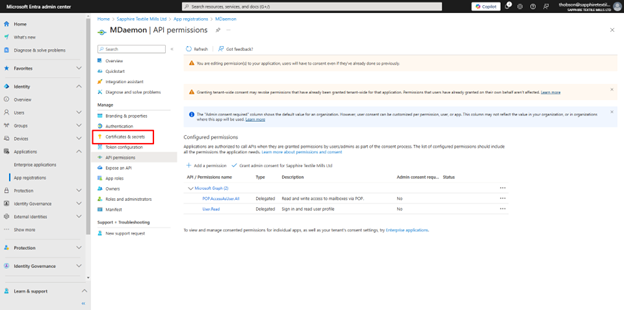
16. Click + New Client Secret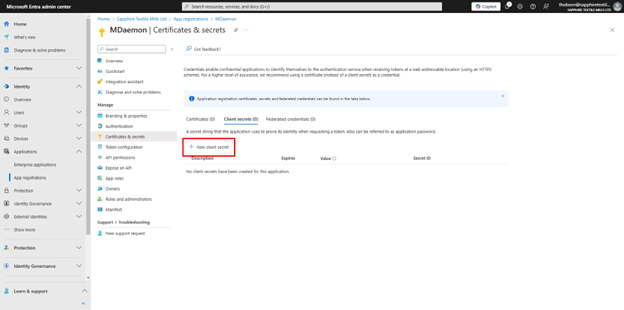
17. Enter a description in the description field.
18. Select how long the password will be valid for.
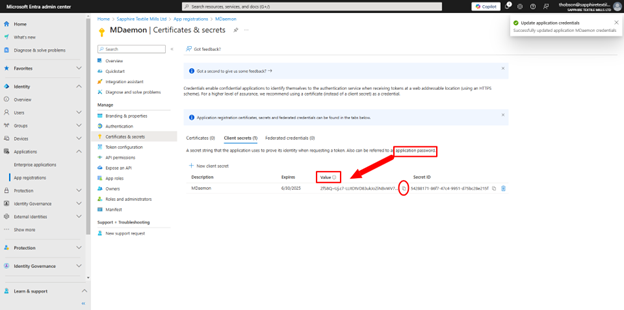
19. Click Add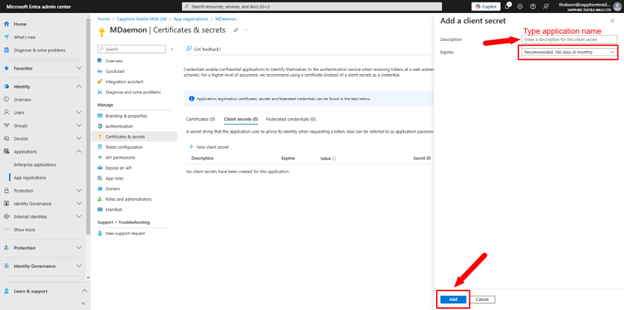
20. Make note of the generated password in the Value field as it will not be viewable again.
In MDaemon:
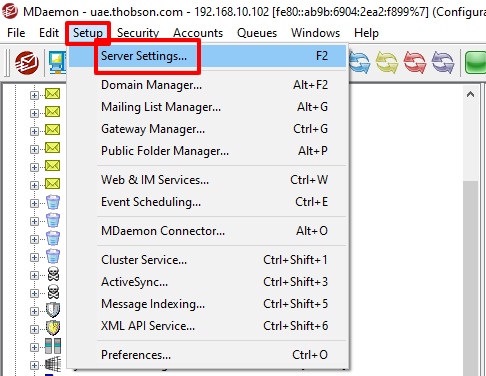
- Open the MDaemon GUI
- Select Setup
- Select Server Settings

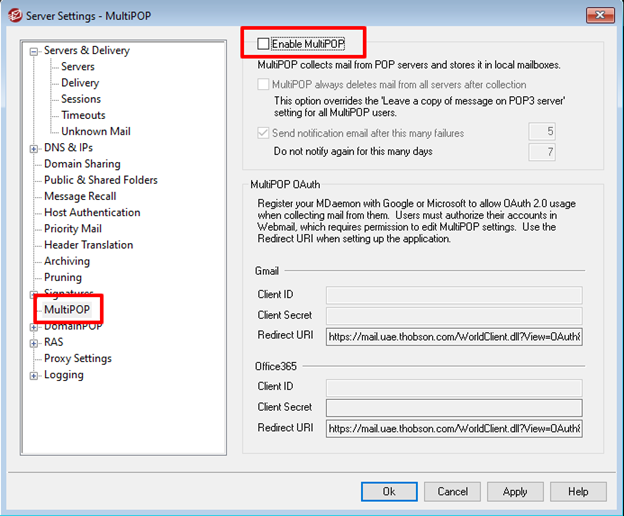
- Select MultiPOP
- Select Enable MultiPOP

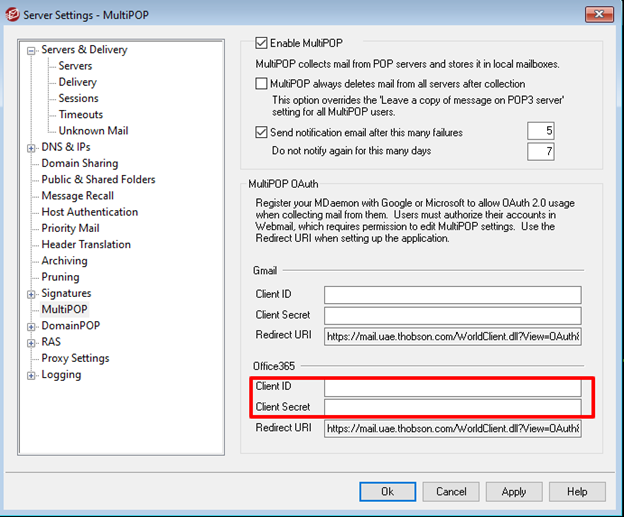
- Enter the Client ID and Client Secret under the Office365 section.
- Enter the Client ID (made note on point#7)
- Enter the Client Secrete (made note on point#20)
- Click OK

To create a new MultiPOP profile for a user:
- Open MDaemon
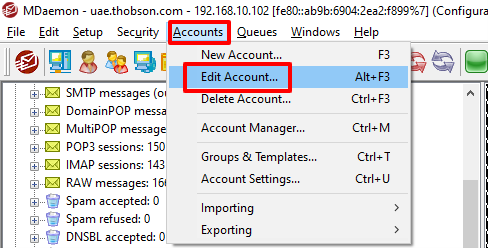
- Select Accounts
- Select Edit Account

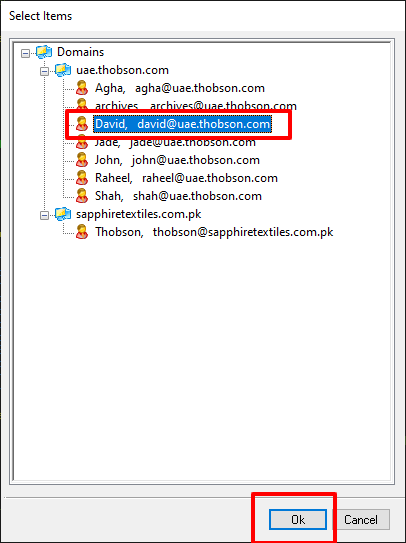
- Double click on the account to open the account in the Account Editor.

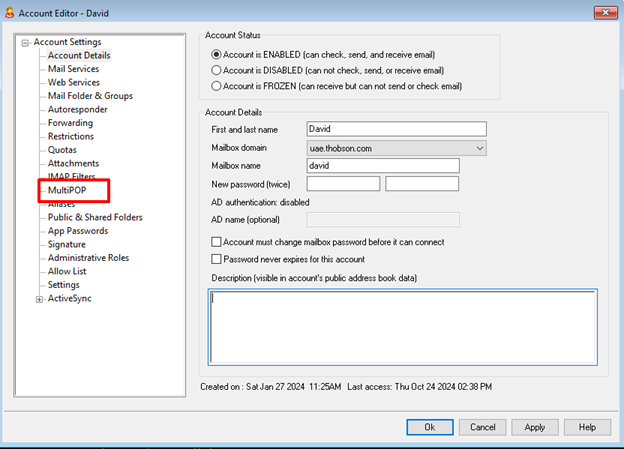
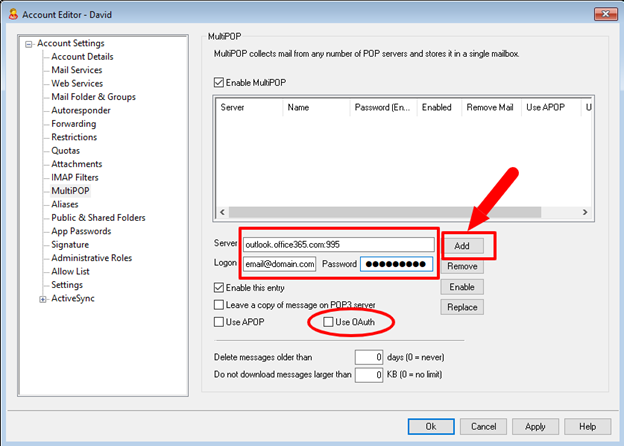
- Select MultiPOP

- Select Enable MultiPOP
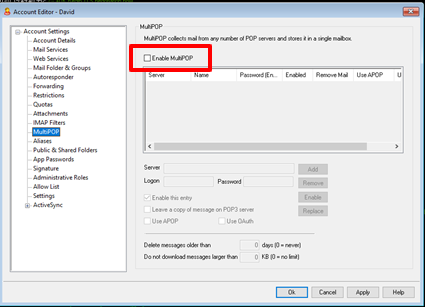

- Enter outlook.office365.com:995 for the Server text box.
- Enter the Microsoft 365 address in the Logon text box.
- Enter the Microsoft 365 address password in the Password text box.
- Verify Enable this entry is checked.
- Check the Leave a copy of message on POP server if desired.
- Select Use OAuth
- Choose the number of days to delete messages older than. (0 = never delete)
- Choose the maximum size of messages that MDaemon should download. (0 = no limit)

To edit an existing MultiPOP profile in MDaemon’s GUI:
- Select Accounts
- Select Edit Account
- Double click on the account to modify.
- Select MultiPOP
- Select the MultiPOP host(s) to edit the entry.
- Verify outlook.office365.com:995 is entered in the Server text box.
- Click the Use OAuth checkbox.
- Click Replace
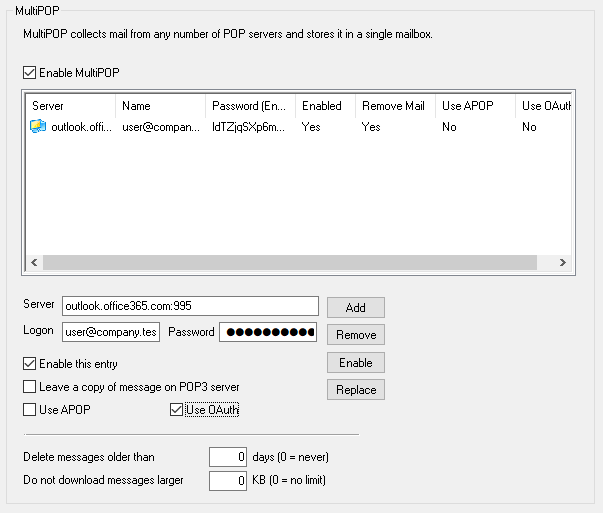
- Click OK to exit the menu.

Alternatively, the MultiPOP profile can be created or edited in MDaemon’s Remote Administration:
- Login to Remote Administration as a global or domain admin.
- Select Account Manager
- Double click the account to edit.
- Select MultiPOP from the Account Settings
- Double Click on the host or select the host and click Edit to edit an existing profile or click New to create a new MutliPOP profile.
- Check the Use OAuth checkbox
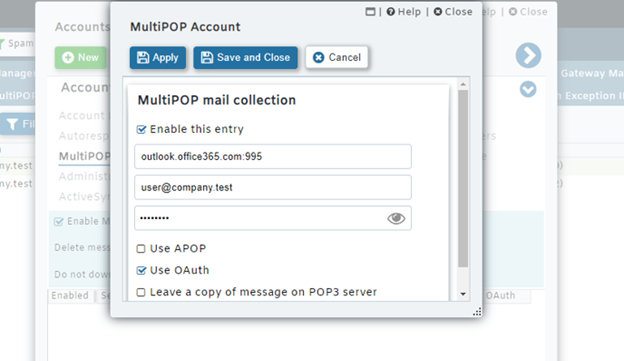
- Click Save and Close

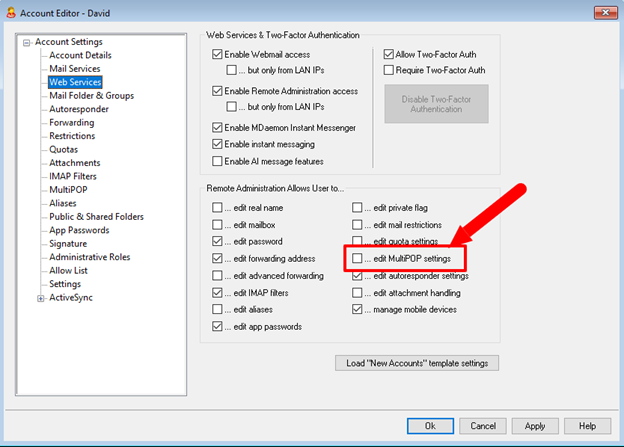
End Users must have the …edit MultiPOP settings web service enabled in order to authorize the account with Microsoft 365.
To do this:
- Open MDaemon
- Select Accounts
- Select Edit Account
- Double click on the account to edit to bring up the Account Editor.
- Select Web Services
- Verify …edit MultiPOP settings is enabled.
- Click Ok

Once enabled, the end user will need to perform the steps below to authorize MDaemon to connect to the Microsoft 365 account.
(HTTPS for MDaemon Webmail must be enabled with a valid certificate. Self-signed certificates are not recommended)
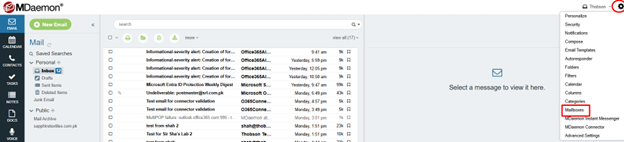
- Log in to Webmail
- Select Settings
- Select Mailboxes

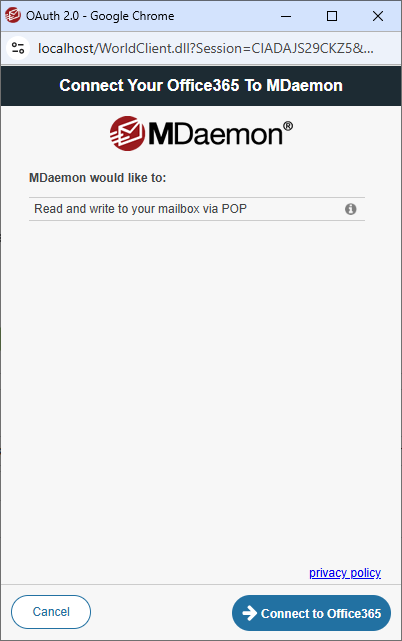
4. Click the Authorize button for the Office 365 POP account.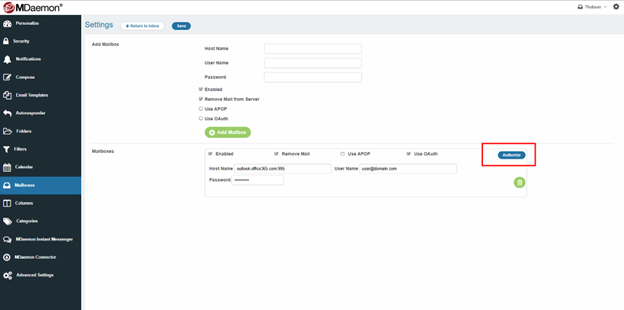
5. Click Connect to Office365